? Introduction
Implementing a School ERP software can feel like a massive leap — but when done right, it can revolutionize your school’s operations.
From attendance tracking to fee collection, a robust ERP simplifies every process, enabling better management and improved transparency.
In this guide, we’ll walk you through a practical, step-by-step School ERP implementation process, specially designed for school administrators planning to deploy Chanakya ERP — the trusted School ERP platform used by educational institutions since 2015.
? Why School ERP Implementation Matters
A School ERP system is more than just software — it’s the digital backbone of modern education.
When properly implemented, it helps schools:
-
Streamline communication between teachers, parents, and administrators
-
Automate repetitive administrative tasks
-
Improve data accuracy and decision-making
-
Enhance student performance tracking
-
Strengthen school reputation through transparency
That’s why understanding the right implementation process is essential for long-term success.
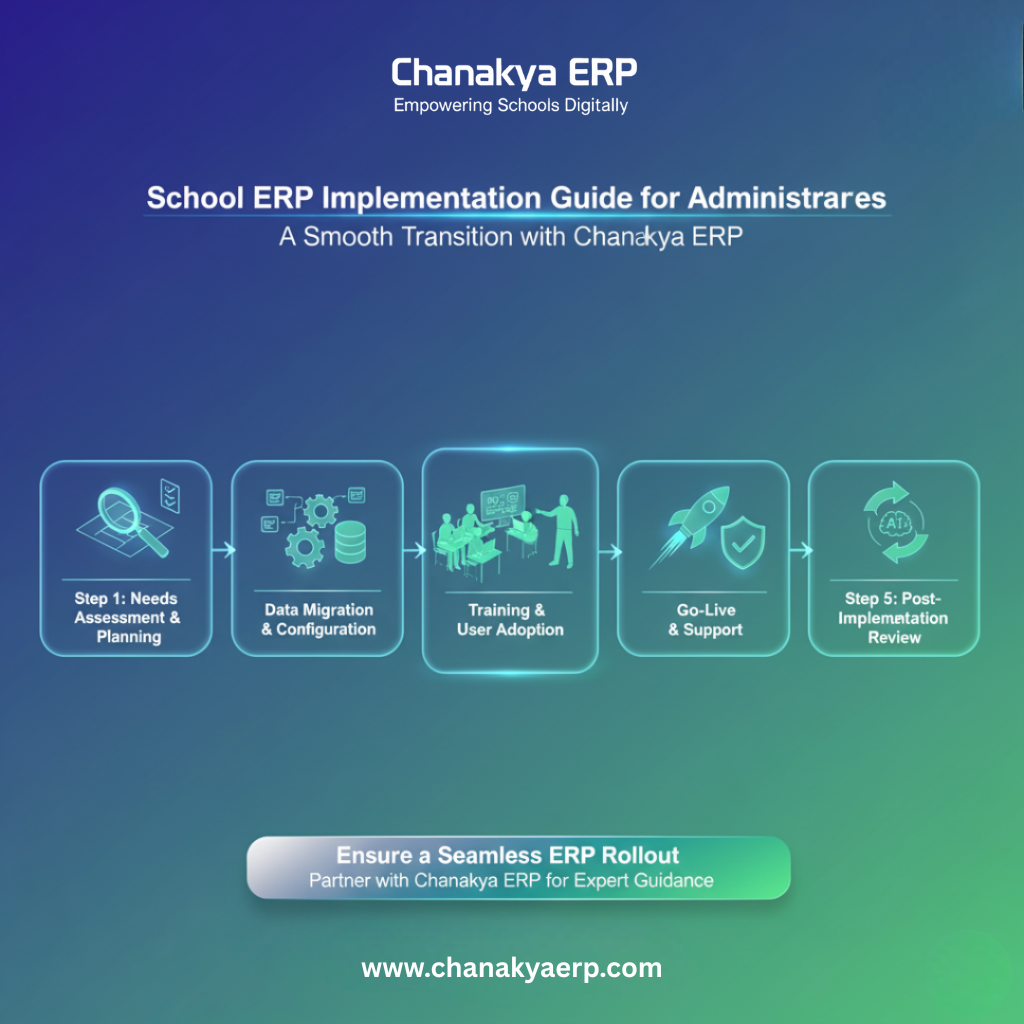
? Step-by-Step Guide to Implementing School ERP
Below is a tested roadmap that ensures smooth ERP deployment for schools of all sizes.
Step 1: Define Your School’s Objectives
Before implementing, clarify what problems you want to solve.
Common goals include:
-
Reducing paperwork
-
Automating attendance & fee collection
-
Enhancing communication between parents and teachers
-
Improving administrative efficiency
? Pro Tip: Schedule a free consultation with our experts at Chanakya ERP to align your goals with the right ERP features.
Step 2: Choose the Right ERP Partner
Selecting the right vendor is crucial. Look for:
-
Proven experience in the education sector
-
Customization options for your school’s workflow
-
Cloud-based, mobile-ready architecture
-
Responsive technical support
? Why Schools Trust Chanakya ERP:
Over a decade of trust, secure cloud systems, and 24/7 support make Chanakya ERP a preferred choice across India.
Step 3: Data Collection & Migration
This phase involves moving your existing records into the new ERP system.
-
Collect data (students, staff, fees, exams, inventory, etc.)
-
Clean and format it properly
-
Test sample imports before full migration
? Chanakya ERP offers assisted data migration to ensure zero data loss.
Step 4: System Setup & Customization
Once data is ready, the system must be configured to your school’s needs.
-
Set up user roles and permissions
-
Configure attendance systems like Face Recognition Attendance or Wireless Biometric Devices
-
Enable modules (fees, timetable, exams, transport, etc.)
? You can explore all our School ERP Features to match your administrative flow.
Step 5: Staff Training
Training is a cornerstone of successful implementation.
-
Conduct workshops for teachers and office staff
-
Create quick reference guides
-
Assign internal “ERP Champions” for ongoing support
? Chanakya ERP offers free training and onboarding support with every implementation.
Step 6: Pilot Testing
Before going live, test the system on a small scale.
-
Run a trial for one department or batch
-
Identify workflow issues
-
Gather feedback for improvements
This ensures your system works perfectly before full deployment.
Step 7: Go Live & Monitor
After successful testing — it’s time to go live!
Monitor daily usage and gather feedback during the first few weeks.
Chanakya ERP provides real-time reports, dashboards, and dedicated support to ensure a smooth transition.
? You can also check out our School Mobile App for teachers, parents, and students to stay connected anywhere.
Step 8: Continuous Improvement
ERP implementation doesn’t end at launch.
Keep optimizing your workflows by:
-
Tracking usage analytics
-
Updating modules as per new CBSE/State Board rules
-
Adding digital tools like Online Fee Payment
? The goal is to keep evolving with technology — and Chanakya ERP ensures your school stays future-ready.
? Example Timeline for ERP Implementation
| Phase | Duration | Key Tasks |
|---|---|---|
| Planning & Objective Setup | Week 1–2 | Identify goals & ERP modules |
| Vendor Selection | Week 3–4 | Evaluate and finalize ERP partner |
| Data Migration | Week 5–6 | Import and verify data |
| Customization & Setup | Week 7–8 | Configure features & modules |
| Training | Week 9 | Train staff and teachers |
| Pilot Launch | Week 10 | Test and refine |
| Go-Live | Week 11 | Launch across all departments |
? Frequently Asked Questions (FAQ)
1. How long does School ERP implementation take?
Typically, 4–6 weeks depending on school size and data migration complexity.
2. Is staff training included in Chanakya ERP setup?
? Yes. We provide complete training and documentation to ensure smooth adoption.
3. Can we import our old student and fee data?
Absolutely! Chanakya ERP supports bulk data migration from Excel or existing software.
4. Do we need any special hardware for ERP setup?
No special setup is needed. Chanakya ERP is 100% cloud-based and mobile-friendly.
5. What support does Chanakya ERP offer after implementation?
You’ll get 24/7 technical support, updates, and a dedicated account manager.
? Conclusion
Implementing a School ERP system is a major step toward modernization — but with the right plan and partner, it’s effortless.
Chanakya ERP helps schools across India achieve seamless automation, transparent communication, and smarter administration.
? Ready to simplify your school’s management?
? Request a Free Demo or Contact Us today!